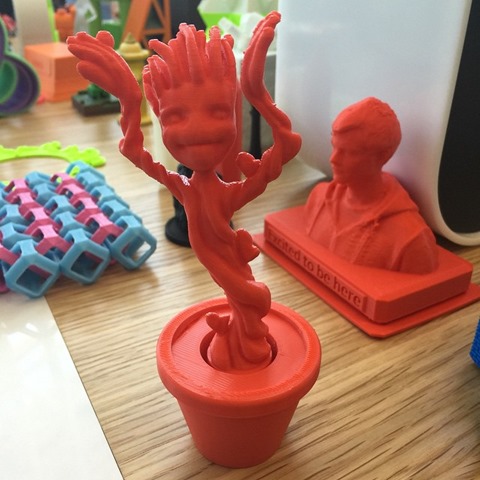
 When you first start learning about 3D Printing you'll usually find yourself looking at a bunch of brightly colored plastic busts. The first 3D printed thing I ever saw was a florescent green Yoda head. First you're like "HOW DID YOU DO THIS?" but quickly you're more like "OK, how many brightly colored plastic pieces of crap do I really need in my life?"
At this point you've likely dismissed 3D Printing as the world of the rich, the insane, or the nerdy, or all three. This is where I was.
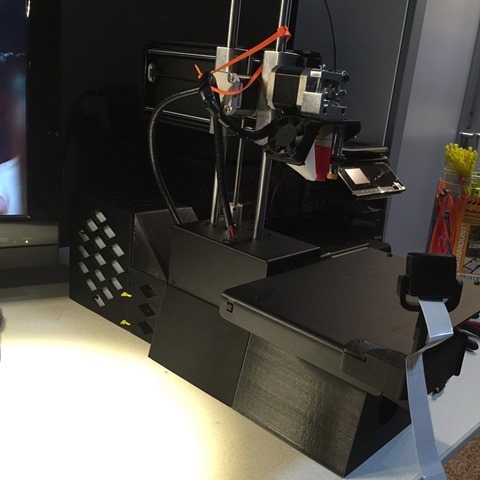
I thought a 3D Printer was a $2000 thing, and of course, that's a heck of a lot of money. But I wanted to get into 3D Printing because I'd started to talk to some more advanced folks locally here in Portland and they assured me that it was cheaper than I thought and more useful than I thought. I got a $599 Printrbot Simple Metal from Amazon. You can also get a kit and assemble it yourself for $539 but the assembling is kind of hard work.
Later as I was having so much fun I got a Dremel 3D Printer for $899 also off Amazon and it's been absolutely reliable and super fun. I now consider the Printrbot a great "prosumer" hobbyist printer for folks to tinker with and improve, but the Dremel just prints, and it prints well. I had it printing well within 10 minutes of unboxing it. Both of these printers are great, but the Dremel (in my experience) has required less adjustment.
I've learned three things. They are perhaps obvious to you, but they have been amazing for me and my sons as we learn more about 3D Printing.
Lesson 1 - You can upgrade your 3D Printer
There's a great website called Thingiverse that is filled with models that others have made or remixed. You can join in and just download, or, ideally, create your own models and share. I've used Tinkercad with the kids to create new models.
One of the great jokes in 3D Printing is that people with printers never print anything useful, they just print upgrades to their printers. When you are getting started, this is actually kind of true. I took my PrinterBot and printed a base, a spool holder (figuring out where to safely and reliably hang the spools of plastic filament is a big problem.
The Dremel has a top lid and usually you'll have the filament inside on a special plastic spool holder. However, if you use larger or non-Dremel filaments you'll want a reliable "big spool" solution. There's a "system" at Thingiverse called the "OmniStand" that you can print that will literally replace the internal one. You can also print an OmniStand for the top of the printer (as seen in this picture below) that will let it print off very large spools.
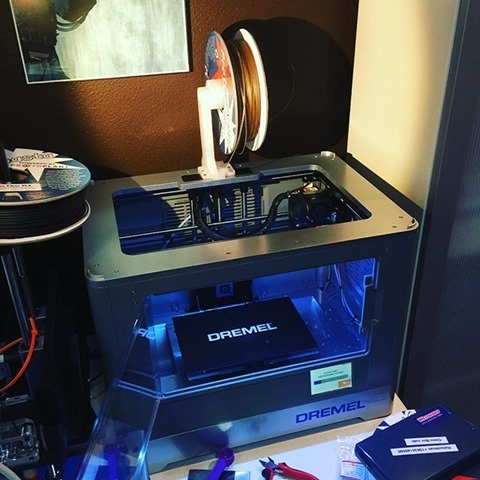
These were small but significant victories. This was a reminder to my sons and I that we could change these devices and make them work how WE wanted, not necessarily how the they were designed.
NOTE: You can also upgrade the Nozzle in your printer. Later I'll talk about "exotic" filaments that can give amazing results but are also more abrasive and can wear out the stock nozzles that come with your printer. I upgraded the nozzle on my Dremel for just $14.99 using this Brass Nozzle from Proto-Pasta and was able to make the swap and get back to printing in about 20 minutes, not counting the feeling of accomplishment.
OK, so you can print things to make your printer work better, cool...what else?
Lesson 2 - There are "exotic" plastic filaments that are game changers
There's a local small business just over the river in Vancouver, Washington called "Proto-Pasta." They a company of just three people that started as a Kickstarter two years ago. They sell "exotic" plastic filaments that have additives and properties that take your prints out of the "bright plastic crap" category and into something more interesting.
They have a filament with added Carbon Fiber that has created some of the smoothest and most amazing prints I've ever made. It doesn't gain strength with this addition, but rather rigidity. They have a Stainless Steel filament that is great for making jewelry or robots or anything that you want to have the heft and feel of steel. They've even got a filament with Iron so your prints can react to magnets.
I've used their High-Temperature filament that starts out clear but you bake it (literally, in your oven) afterwards and it'll shrink slightly and get VERY hard and turn opaque.
More recently I've been trying a filament with added Pine (yes, wood) that not only smells great but looks amazing with wood flecks inside the filament.
I've made dishes, vases, pieces of art for shelves, and geometric shapes for gifts this Christmas. Each one is VERTY different just by changing the filament. It's been more than changing color. These exotics change the texture and weight, and by making small changes in the software you can make them thicker or, in my case, thinner and more translucent.
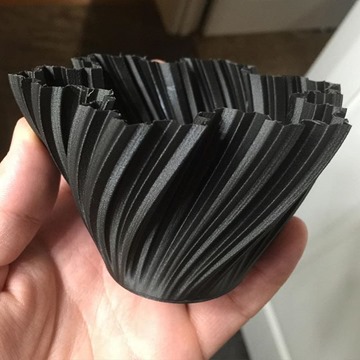

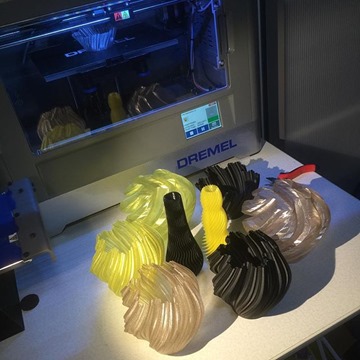
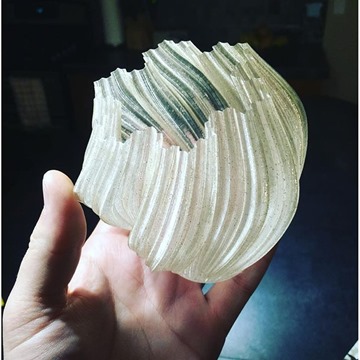
I hope the folks who get these for Christmas appreciate the work and thought that went into them.
Lesson 3 - You can print parts and then assemble things using bolts, glue, etc.
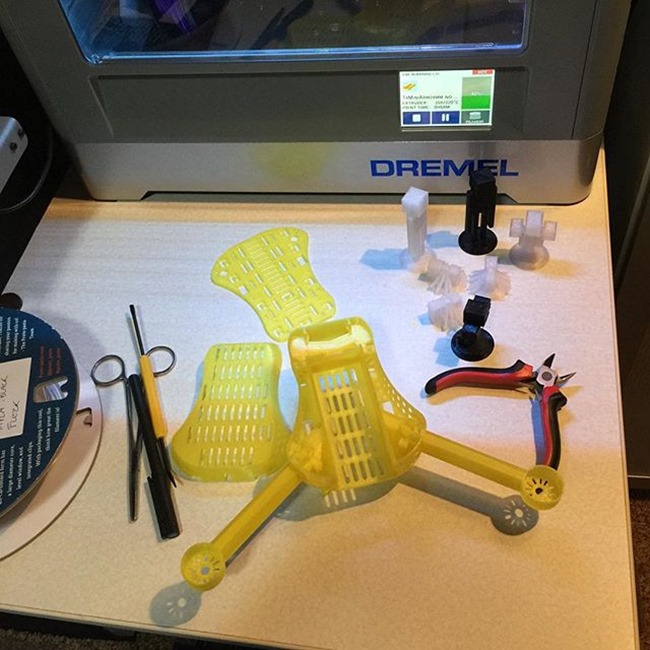
This one may be obvious, but you don't have to do everything with plastic. My 8 year old and I are slowly making a "T4 Quadcopter" designed by Brendan from New Zealand (a reader of this blog) and this project will require not only lots of printed pieces but assembled pieces. You can super glue, screw, bolt, zip-tie and snap 3D printed parts together. I've been surprised at how string these parts can be when they are combined. This quadcopter will be held together with small metric nuts and bolts and zip-ties as well as some very clever snaps built-in as part of the 3D Printed model.
We are having a blast with this family hobby. We've fixed things around the house, made art, explored material science, thought about geometry, and learned about how software and hardware work together to create something bigger. Are you getting into 3D Printing?
Related Links
- 3D Printer Shootout - $600 Printrbot vs. $20,000 uPrint SE Plus
- Moving beyond Beginner when 3D Printing and becoming a Handy Person
- Review: Dremel 3D Printer and initial impressions of the HP Sprout
- The Basics of 3D Printing in 2015 - from someone with 16 WHOLE HOURS' experience
Also, please do follow my adventures on Instagram at @shanselman!
Sponsor: Big thanks to Infragistics for sponsoring the feed this week! Responsive web design on any browser, any platform and any device with Infragistics jQuery/HTML5 Controls. Get super-charged performance with the world’s fastest HTML5 Grid - Download for free now!
![]()
© 2015 Scott Hanselman. All rights reserved.
