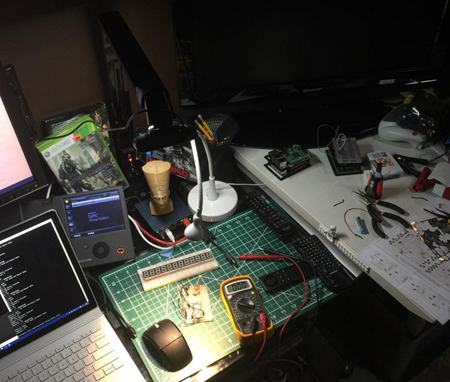
 MarchIsForMakers continues! It's my month-long collaboration with Saron from CodeNewbie. We've had some amazing guests on our respective podcasts and some great technical content. Please do check it out at http://marchisformakers.com and subscribe to my podcast Hanselminutes as well as the CodeNewbie podcast.
Here's a few of the things we've made for you lately:
- Podcast: Designing Makerspaces with Kristen Smith from littleBits
- Podcast: Make Magazine with Mike Senese
- Podcast: Arrow.com Electrical Engineer Laura Hughes
- Blog: Building Visual Studio Code on a Raspberry Pi 3
- Blog: The Importance of the LED Moment - I DID THAT
- Podcast: Arduinos and Useless Robots with Simone Giertz
- Podcast: Taking Stuff Apart with Captain Brent Chapman
Just last week I received my Raspberry Pi 3 in the mail. I called Saron and we decided not only to do an unboxing video, but an "unboxing, setup, AND make it do something" video.
Could we setup a Raspberry Pi 3 from scratch and get it to blink an LED in less than an hour?
Every STEM house should have a Raspberry Pi or six! We've got 4? Or 5? They end up living inside robots, or taped to the garage door, or running SCUMMVM Game Emulators, or powering DIY GameBoys.
If you have a Raspberry Pi 3, awesome. If not, this should work with an original Pi or a Pi 3. You'll want to make sure you have a few parts ready to save you time and trips to the store! I recommend a complete Raspberry Pi Kit when you're just getting started as it guarantees you'll be up and running in minutes. They include the mini SD Card (acts as a hard drive), a power supply, a case, etc. All you need to provide is a USB Keyboard and Mouse. I ended up getting a cheap Mini USB wired keyboardand cheap USB wired mouse for simplicity.
I like to use the new NOOBS setup direct from Raspberry Pi: https://www.raspberrypi.org/help/noobs-setup/. You can get SD cards with NOOBS preinstalled are available from many of our distributors and independent retailers, such as Pimoroni, Adafruit and Pi Hut if you like, but I had a blank card laying around.
I downloaded SD Formatter 4.0 for either Windows or Mac and prepped/formatted my card. Then I downloaded NOOBS and unzipped it directly into the root of my now-empty SD Card.
You plug the SD card into the Raspberry Pi and pick Raspbian as your Operating System (although there are other choices this is easiest for beginners) and wait a bit. The default login is "pi" and the password is "raspberry."
In this video we not only set it up, but we also got VNC working using RealVNC for Raspberry Pi, then Blinked an LED using Python. It was a blast, and was a little touch and go for a moment near the end as we had to pull out the multimeter to debug!
I hope you enjoy it. Also, be sure to explore the #MarchIsForMakers hashtag on Twitter to see lots of other fun stuff folks are doing during our month-long celebration.
What have you made this month?
Sponsor: Thanks to Seq for sponsoring the feed this week! Need to make sense of complex or distributed apps? Structured logging helps your team cut through that complexity and resolve issues faster. Learn more about structured logging with Serilog and Seq at https://getseq.net.
© 2016 Scott Hanselman. All rights reserved.


